Tutorial
Using Mālama, task by task
Each part stands on its own — jump to whichever one you need. Sections marked HR Admin only appear if you hold that role.
Part 1
The directory
The directory is the staff list. Everyone signed in can browse it and see names, job titles, departments and contact details.
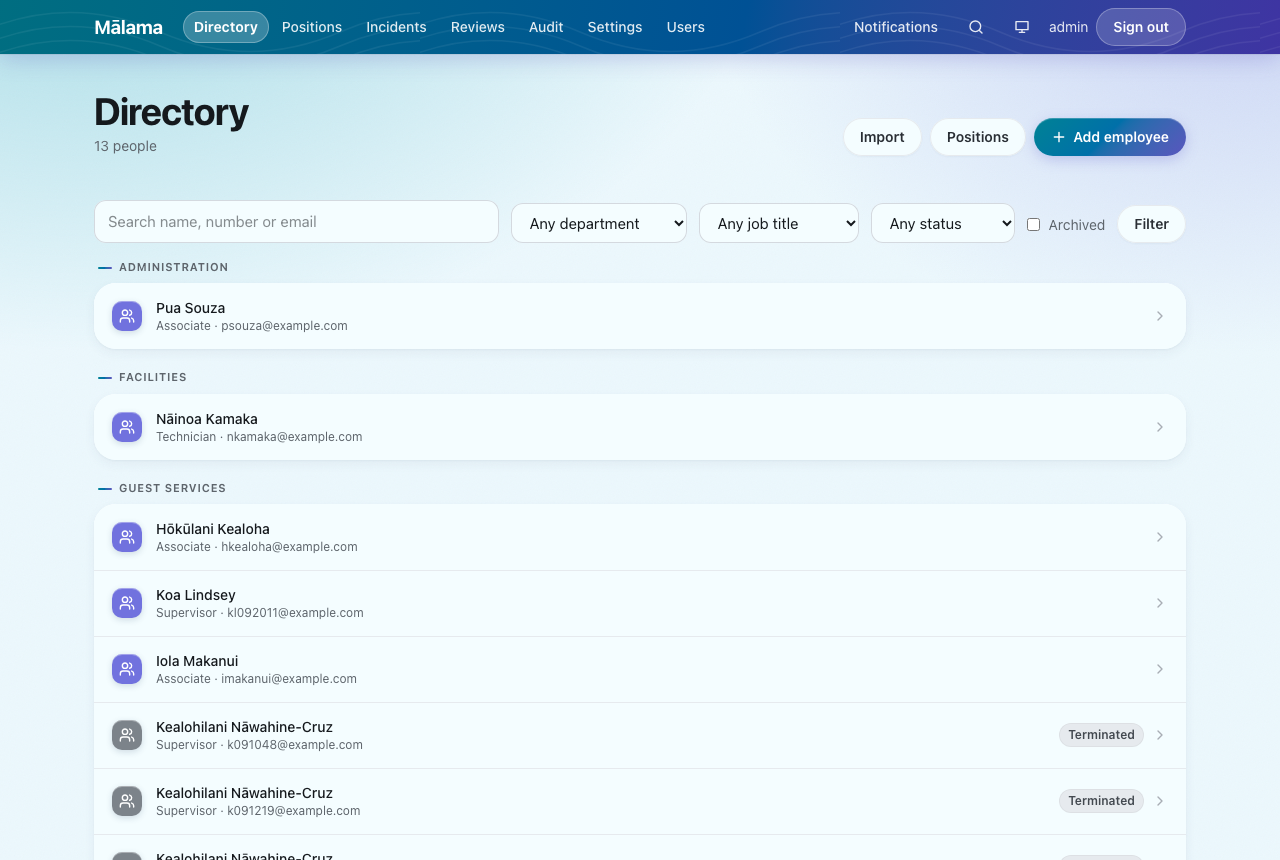
Selecting someone opens their profile. What you see there depends on who you are: the contact block is open to everyone, but employment history, status and termination dates appear only for HR, for that person's own manager, and for the person themselves.
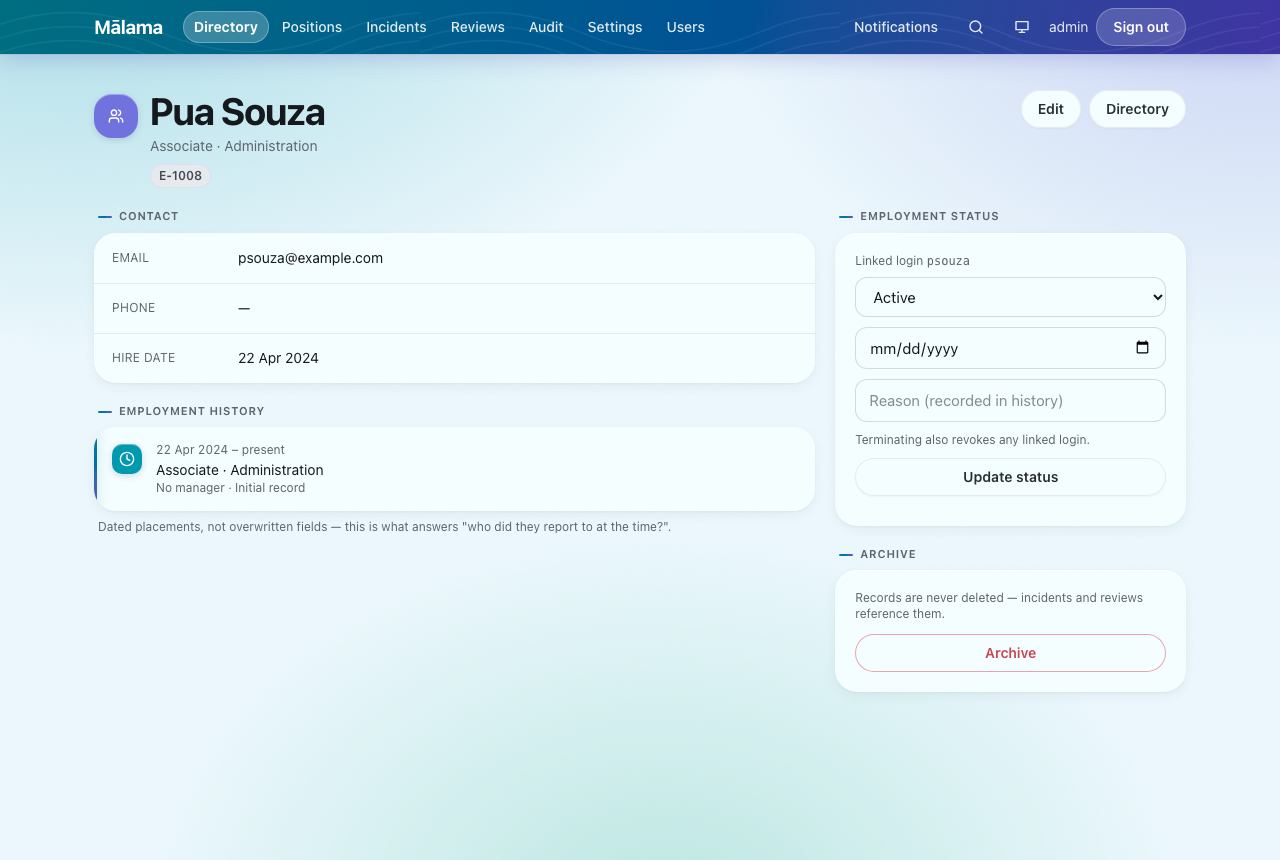
The Employment history section is worth understanding. When somebody changes department, job title or manager, Mālama does not overwrite the old value — it closes the previous entry and opens a new one with a date. That is what allows the question "who did they report to in March?" to be answered a year later.
Part 2
Reporting an incident
Go to Incidents and choose Report incident.
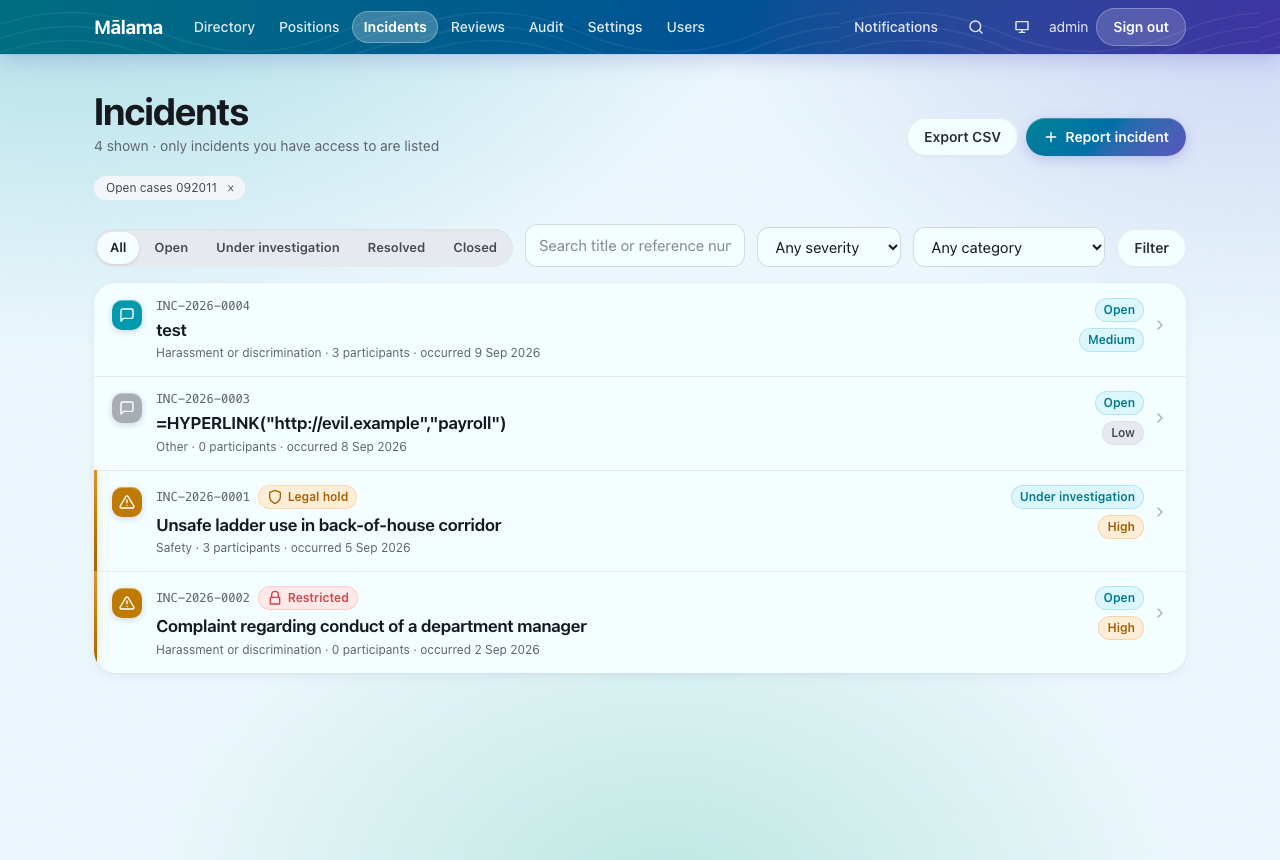
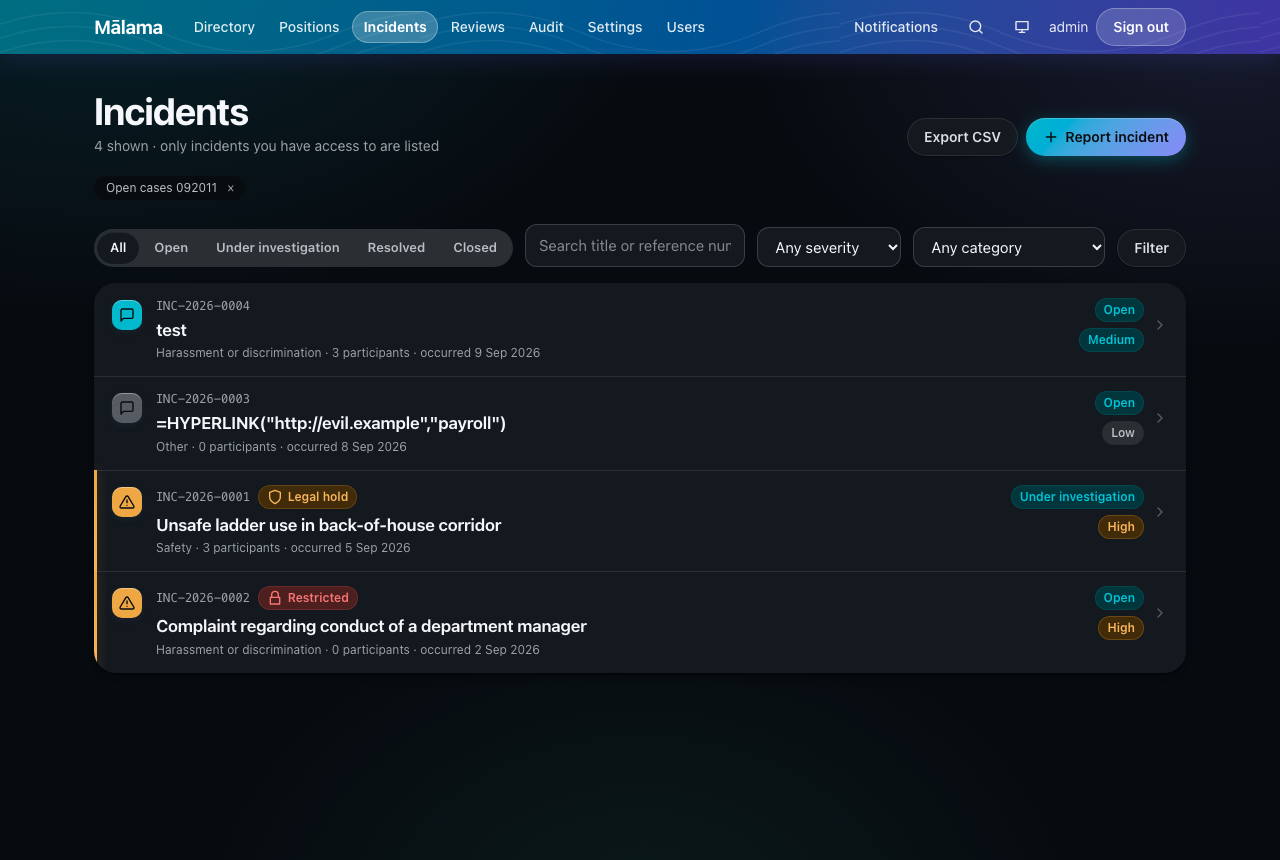
The same list in dark mode — the severity edge and the status chips are re-picked for the dark surface rather than dimmed, so urgency reads the same at either end of the day.
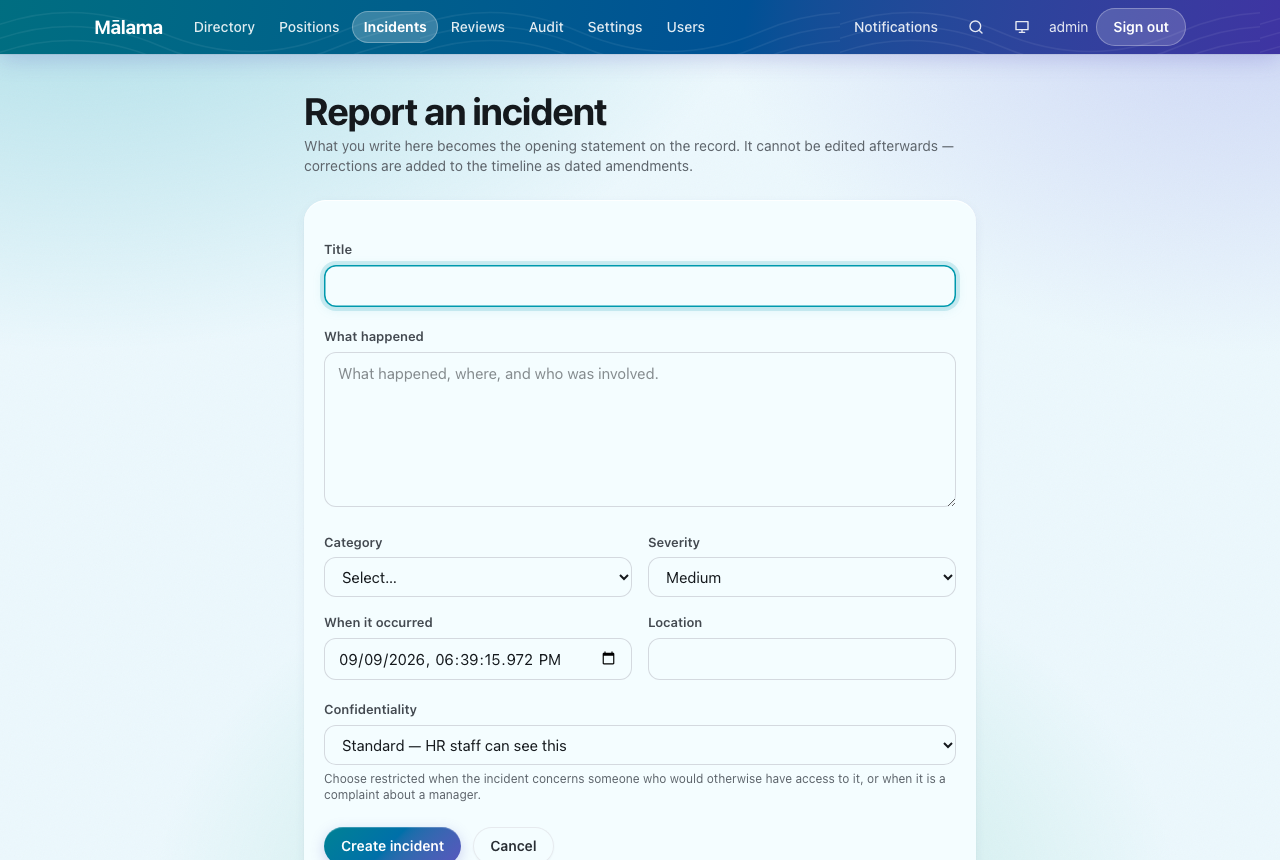
Filling in the form
- Title — a short factual summary. It appears in lists and search, so avoid names where you can.
- What happened — the account itself: what, where, when, and who was involved. Write it as though a stranger will read it in two years, because they might.
- Category and Severity — used for filtering and for the dashboard. Severity is a judgement, not a formula.
- When it occurred — the time of the event, not the time you are typing.
- Confidentiality — explained below. Read it before choosing.
Standard or Restricted?
Standard can be seen by HR staff. Restricted is visible only to HR administrators and to people explicitly given access to that one incident.
Choose Restricted whenever the incident concerns somebody who would otherwise be able to read it — most obviously a complaint about a manager. If in doubt, choose Restricted: widening access later is easy, un-disclosing something is impossible.
Pressing Create incident assigns a reference number such as
INC-2026-0001 and records your account as the
reporter. The opening statement cannot be edited afterwards. If you need
to correct it, you add an amendment — see the next part.
Part 3
Working an incident
Adding people
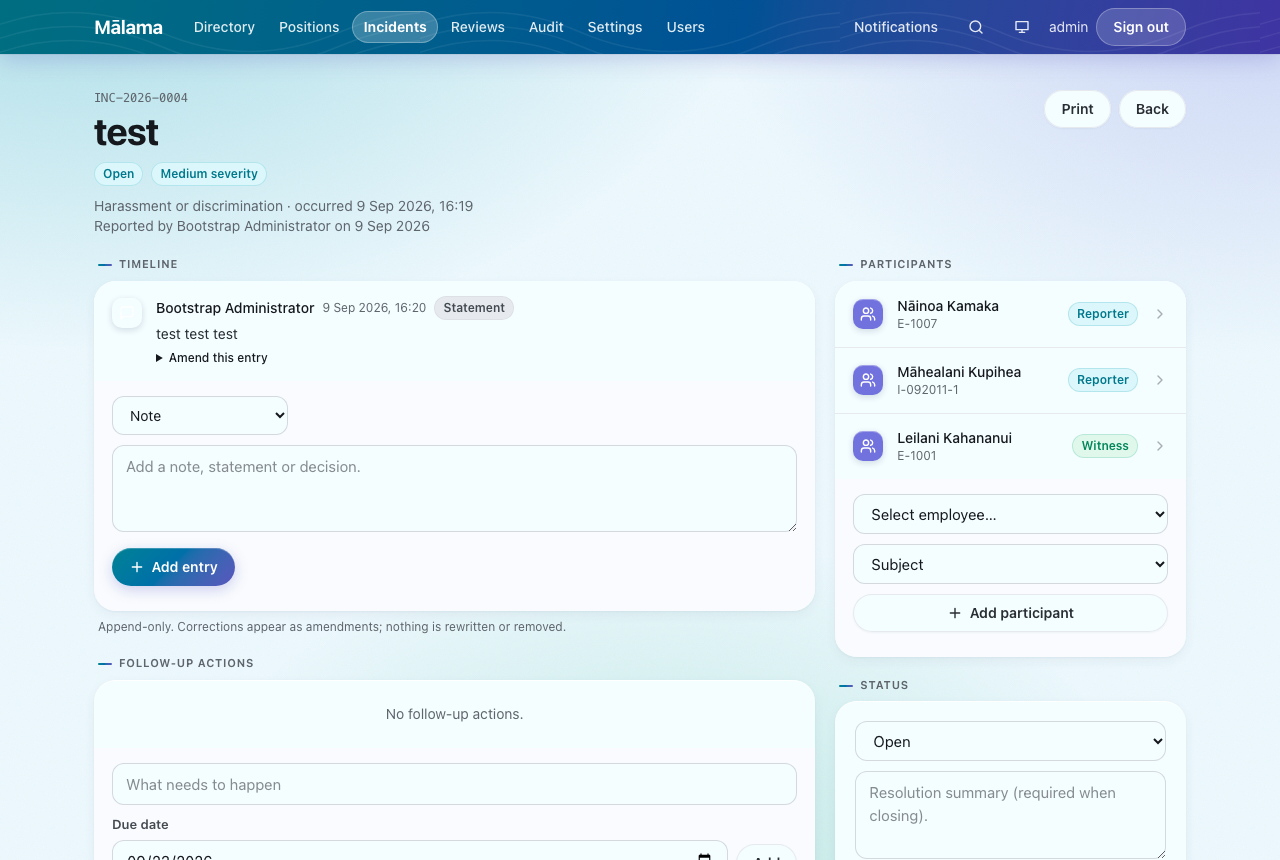
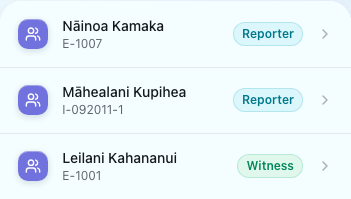
Use the Participants panel to record everyone involved and in what capacity — subject, reporter, witness or otherwise involved. An incident often involves several people in different roles, and recording that properly is what makes the file make sense later. Each name links to that person's profile.
The timeline
Everything that happens is added to the timeline as a dated, attributed entry: notes, statements and decisions. Entries are added, never edited or deleted.

To correct something, choose Amend this entry beneath it and explain what is being corrected. Both versions remain on the record — the original struck through, the amendment below it. A record that could be quietly rewritten would be worthless the moment it was disputed, which is the whole reason for this design.
Follow-up actions
Follow-ups are what turn a filed report into something that changes. Give each one a description and a due date. Anything past its date is shown in red here and on the dashboard of everyone who can see the incident.

Attachments, status and legal hold
- Attachments — statements, photographs, signed acknowledgements. Files are never served by a public link: every download re-checks that you are allowed to see that incident.
- Status — Draft, Open, Under investigation, Resolved, Closed. Closing an incident stops new entries; reopen it if more comes to light.
- Legal hold HR Admin — marks the incident exempt from every retention purge, whatever its age. Place one as soon as a matter is disputed or under investigation.
Part 4
Performance reviews
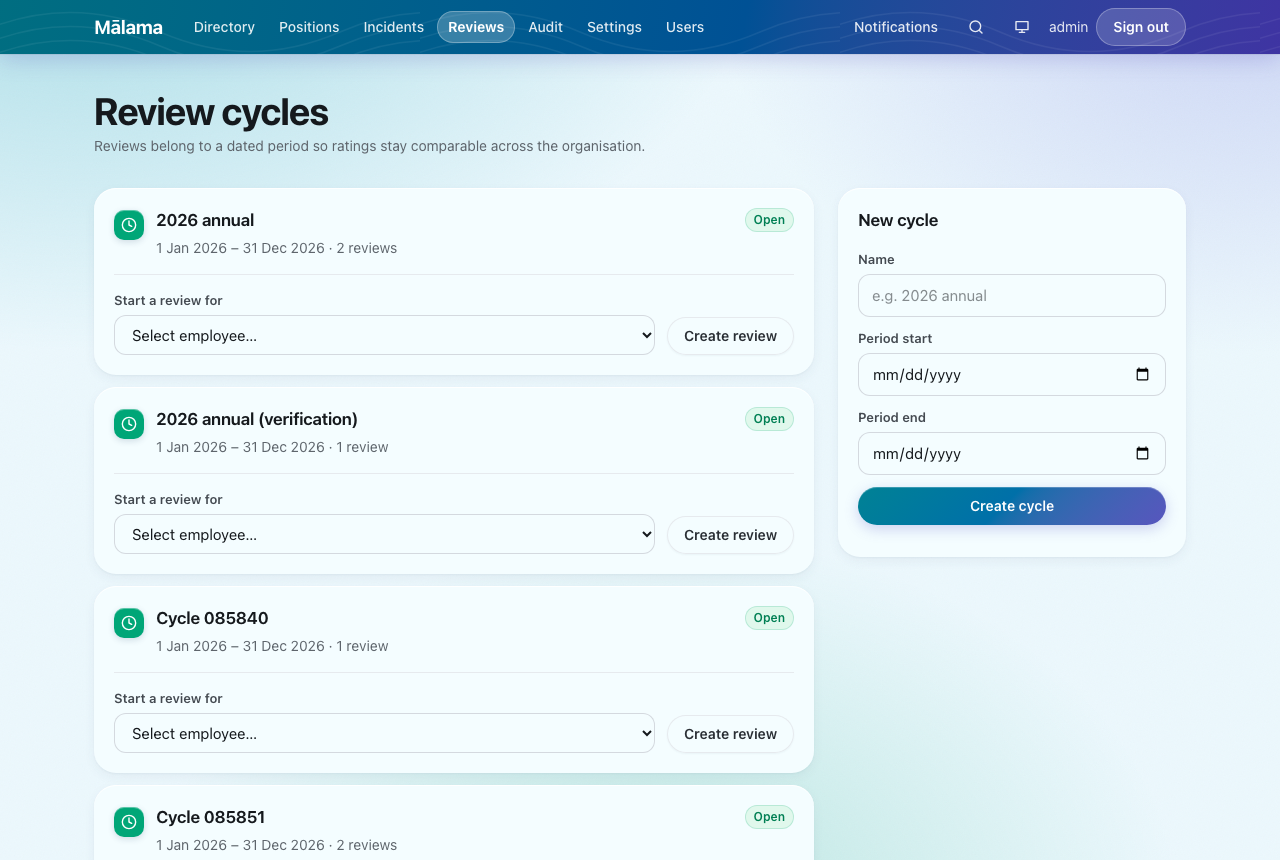
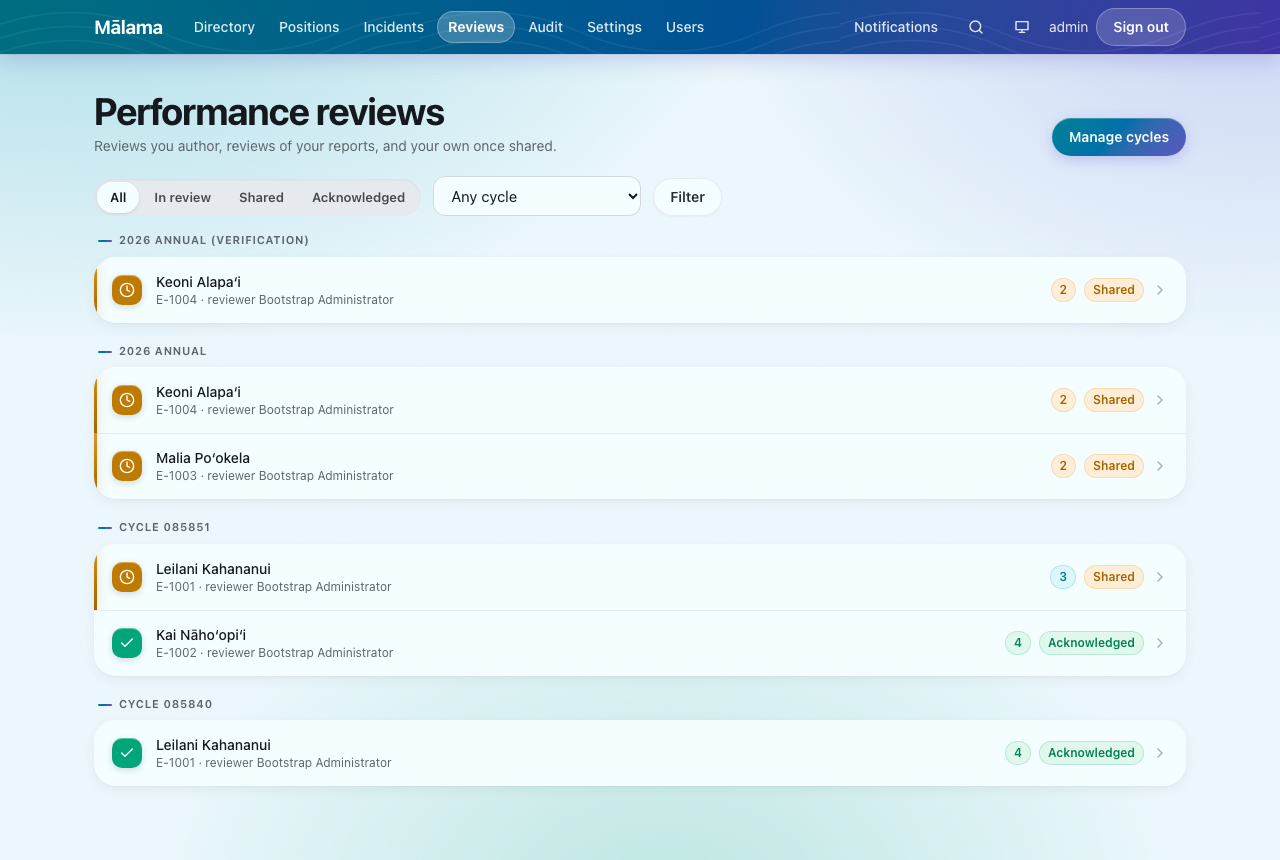
Reviews belong to a dated cycle, so ratings stay comparable across the organisation. HR administrators create cycles and start reviews.
Writing a review
Rate each competency, write the overall assessment, and choose an overall rating. Saving a rating updates the page in place — you will not lose your scroll position.
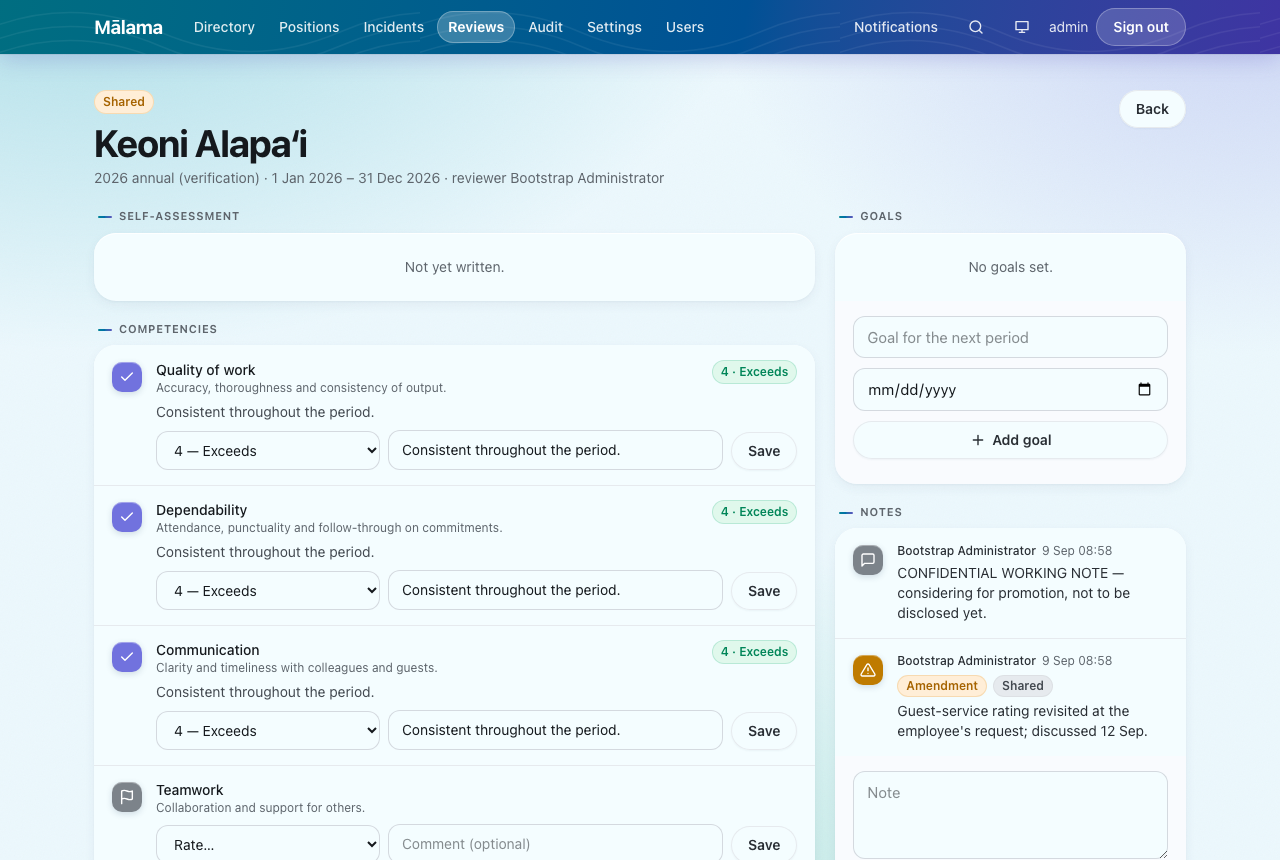
Nothing is visible to the employee until you share it. Drafts and private notes stay with you. Sharing needs an assessment and an overall rating, and cannot be undone — you cannot un-show somebody their review.
Acknowledgement
Once shared, the employee sees the review and can acknowledge it. Acknowledgement means "I have seen this", not "I agree" — there is a response box for anything they want recorded alongside it, including disagreement. Acknowledging locks the assessment; later changes are added as dated amendments.
Reviews and incidents are kept apart
You will not find an incident panel on a review screen, and there is no link between them anywhere in Mālama. An unsubstantiated allegation must not affect a rating, and an incident somebody reported must never surface in their own review. If you believe a substantiated incident is relevant, say so in the narrative in your own words.
Part 5
Positions and headcount
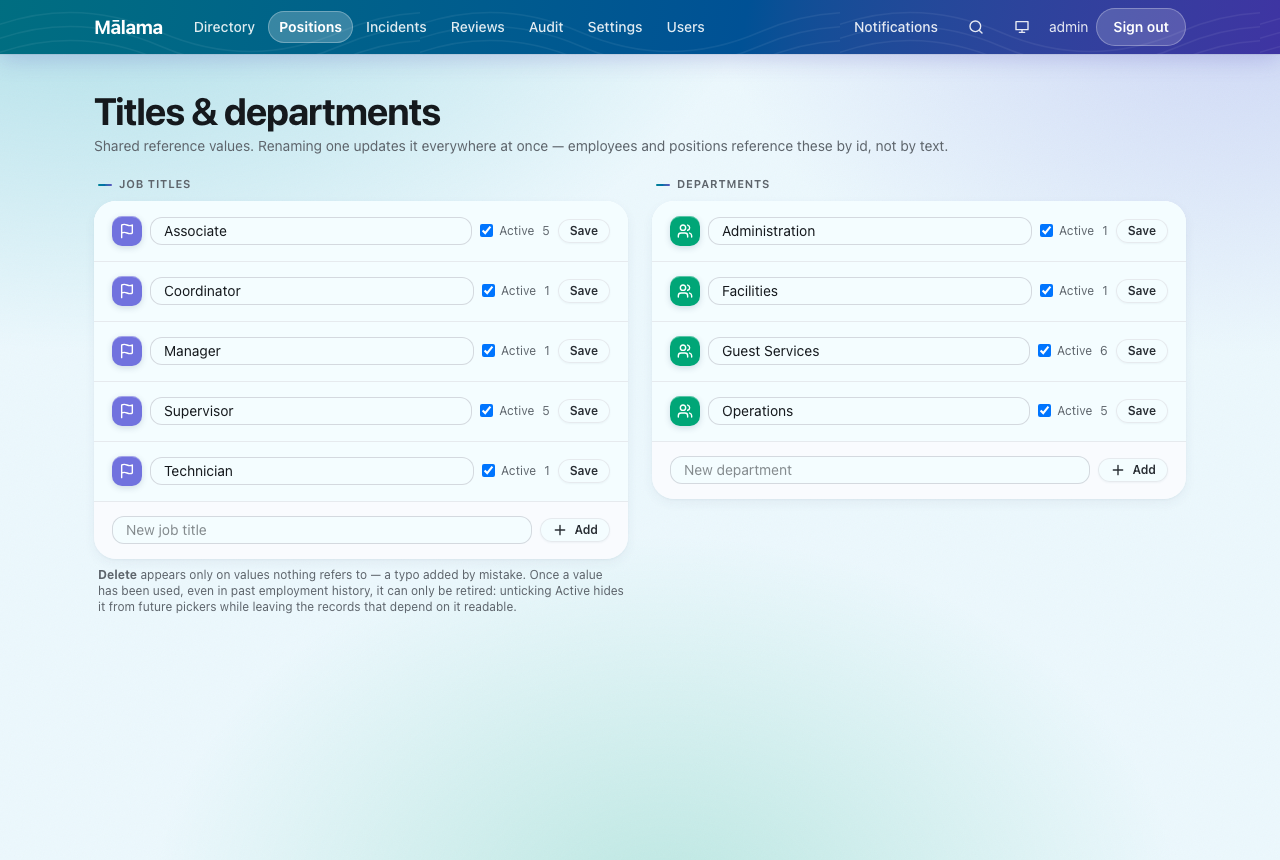
A job title is a label. A position is a seat in the organisation that one person occupies and which continues to exist when they leave — that is what makes vacancies visible.
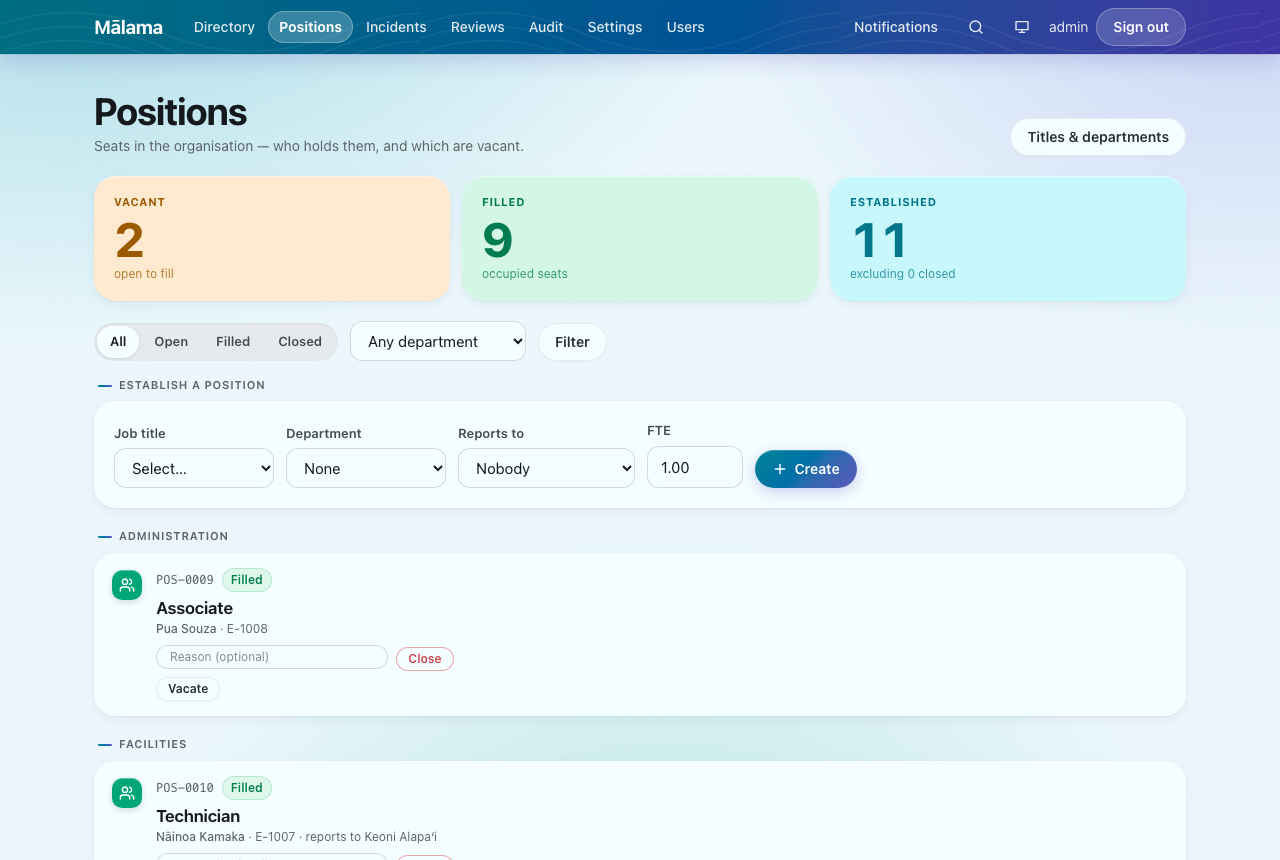
- Establish a position HR Admin — creates a new open seat with a job title, department and reporting line.
- Fill — assigns someone. This also sets their department and job title, and writes an employment-history entry. The position is the source of truth; the person's record follows it.
- Vacate — frees the seat and returns it to the vacancy list.
- Close HR Admin — retires the seat from headcount. A filled position must be vacated first.
Terminating an employee in the directory vacates their position automatically and revokes their login, so the vacancy appears the moment they leave.
Part 6
Administration HR Admin
Adding a user
Accounts are created without a password. Mālama issues a single-use invitation link and the person chooses their own — an administrator who types somebody's password creates a credential two people know.
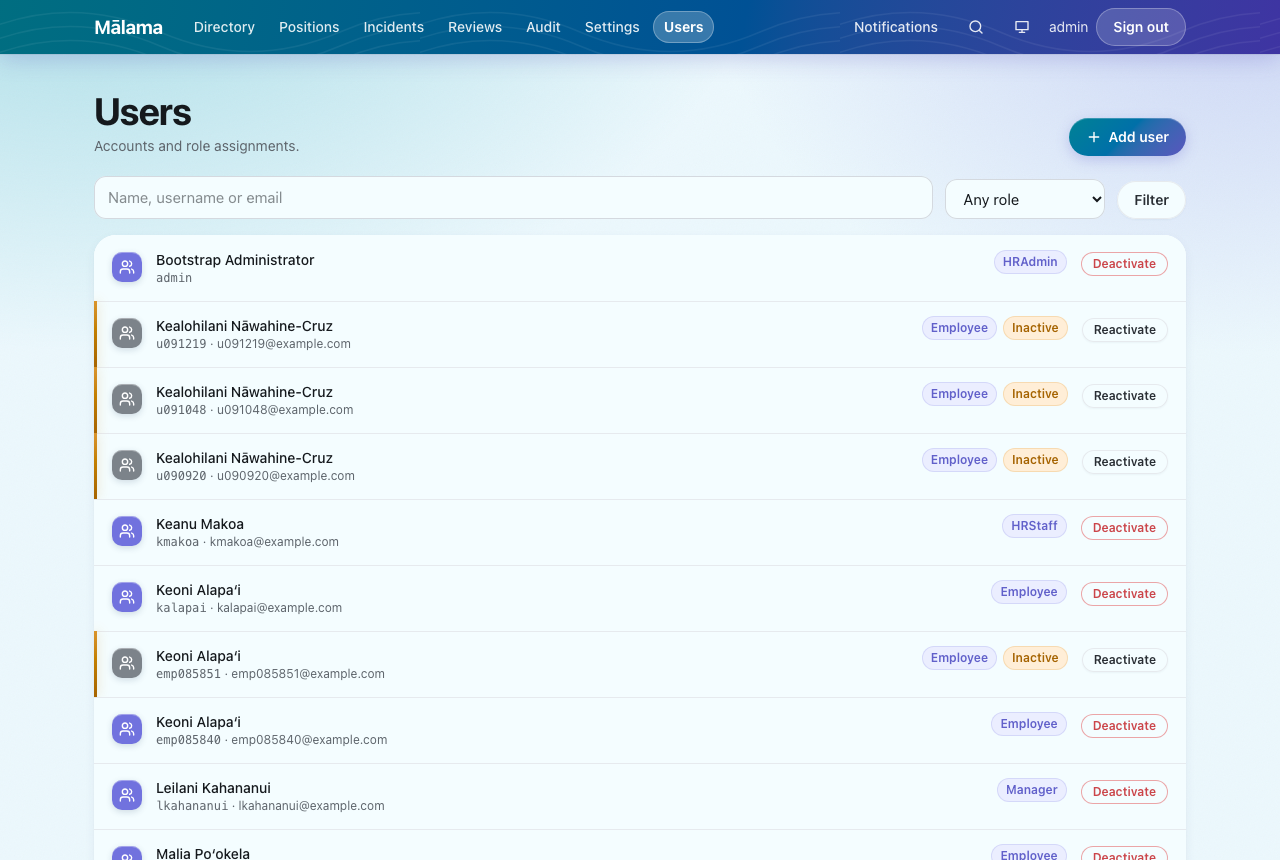
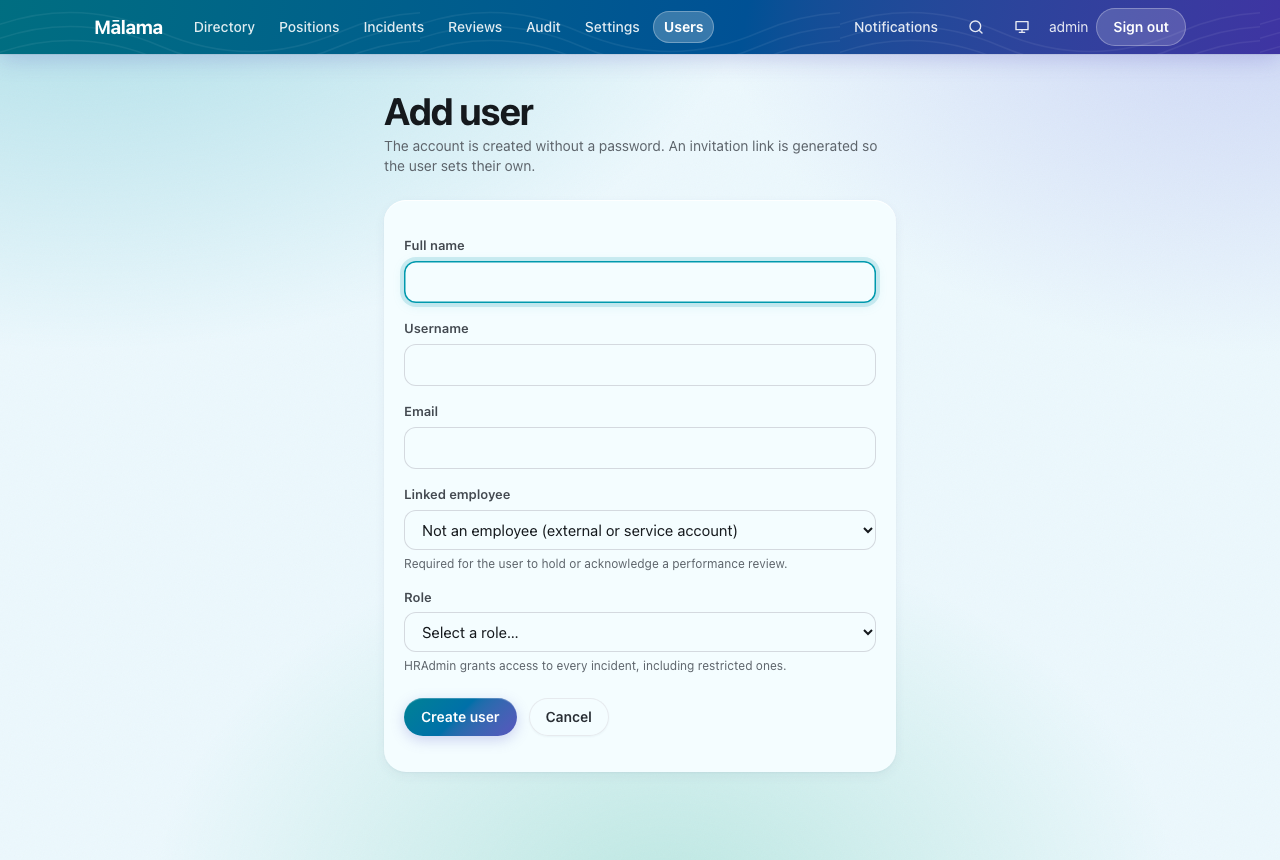
The invitation link is shown once, immediately after creation. Send it through a channel you trust. Roles are fixed — you assign from the list, you cannot invent new ones, because the permissions behind each name are written into the application.
Importing employees
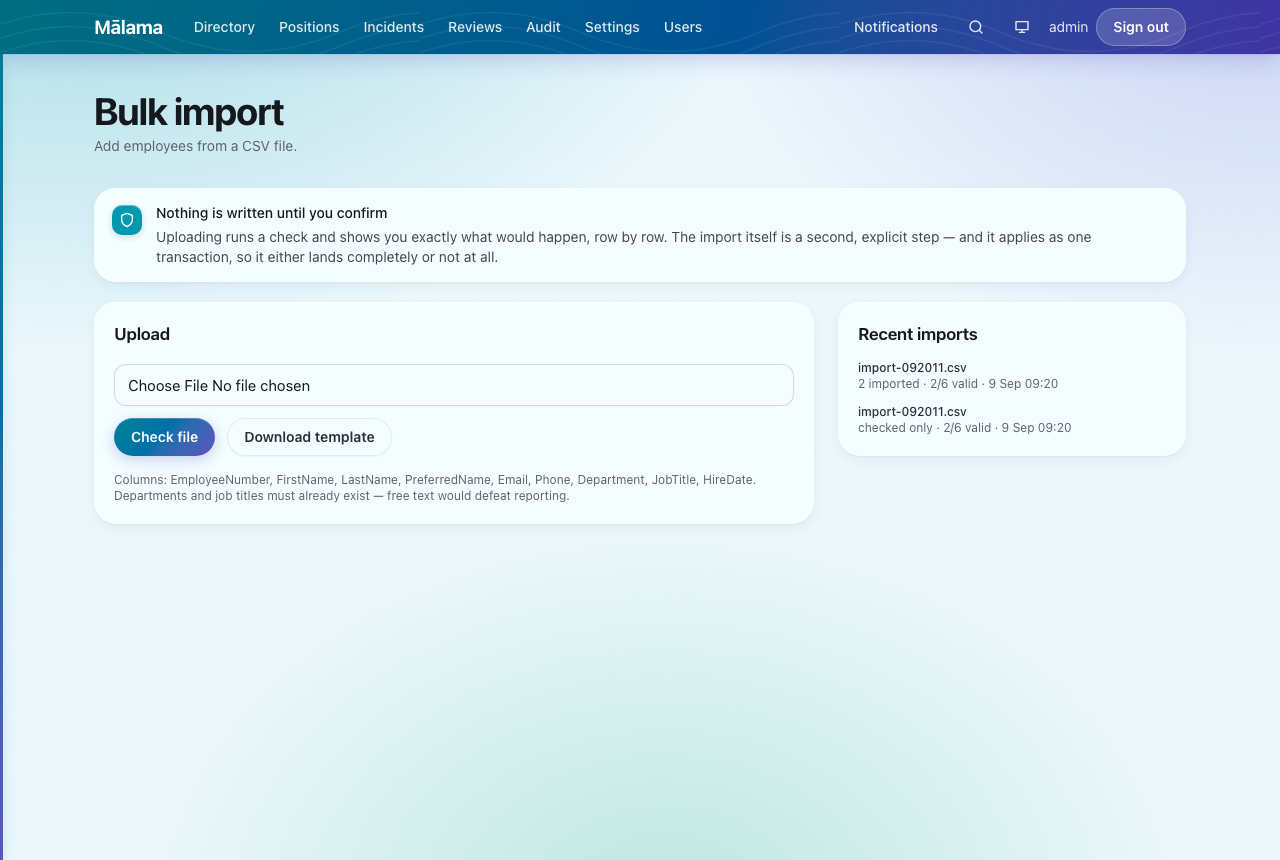
Upload a CSV to add many people at once. Nothing is written when you upload: Mālama checks the file and shows you exactly what would happen, row by row. Importing is a second, explicit step, and it applies as one transaction — either the whole file lands or none of it does.
Settings and the audit trail
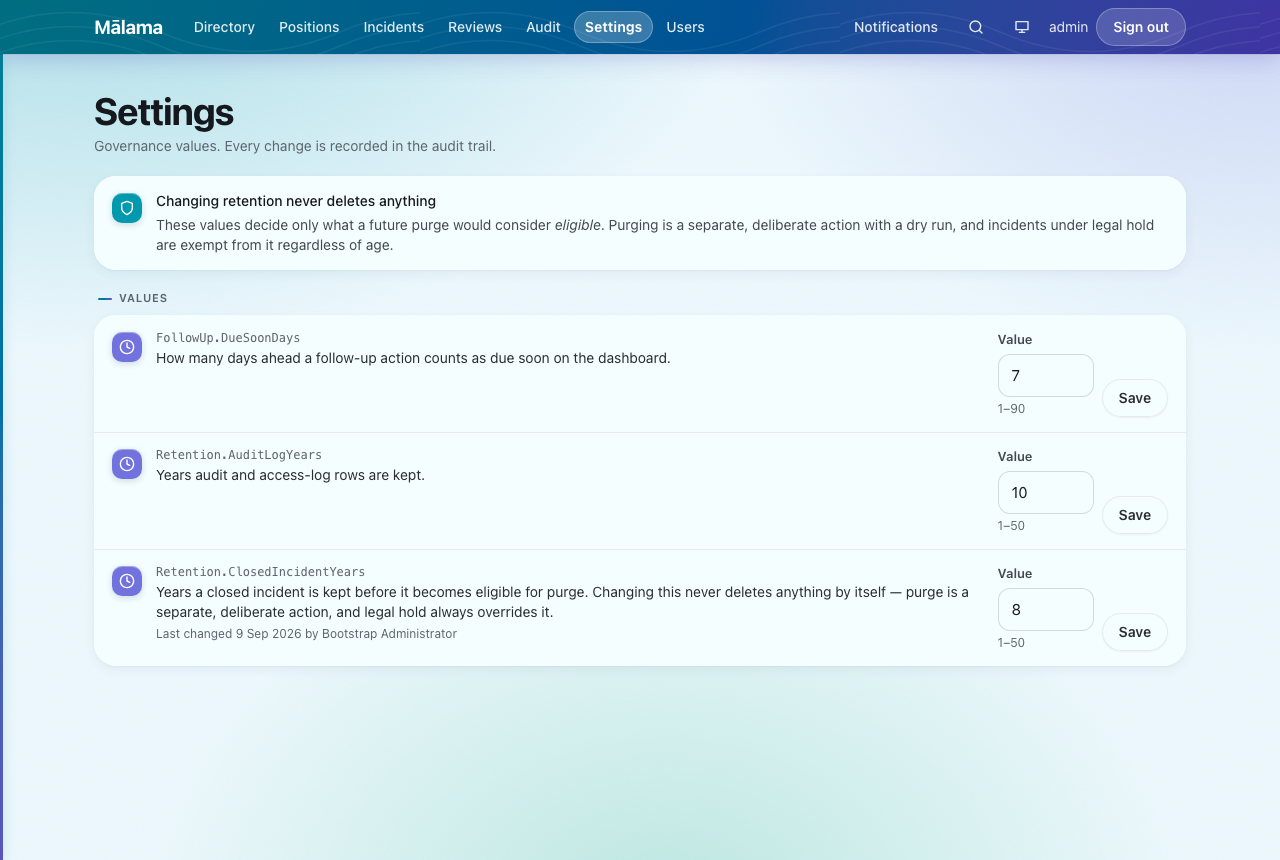
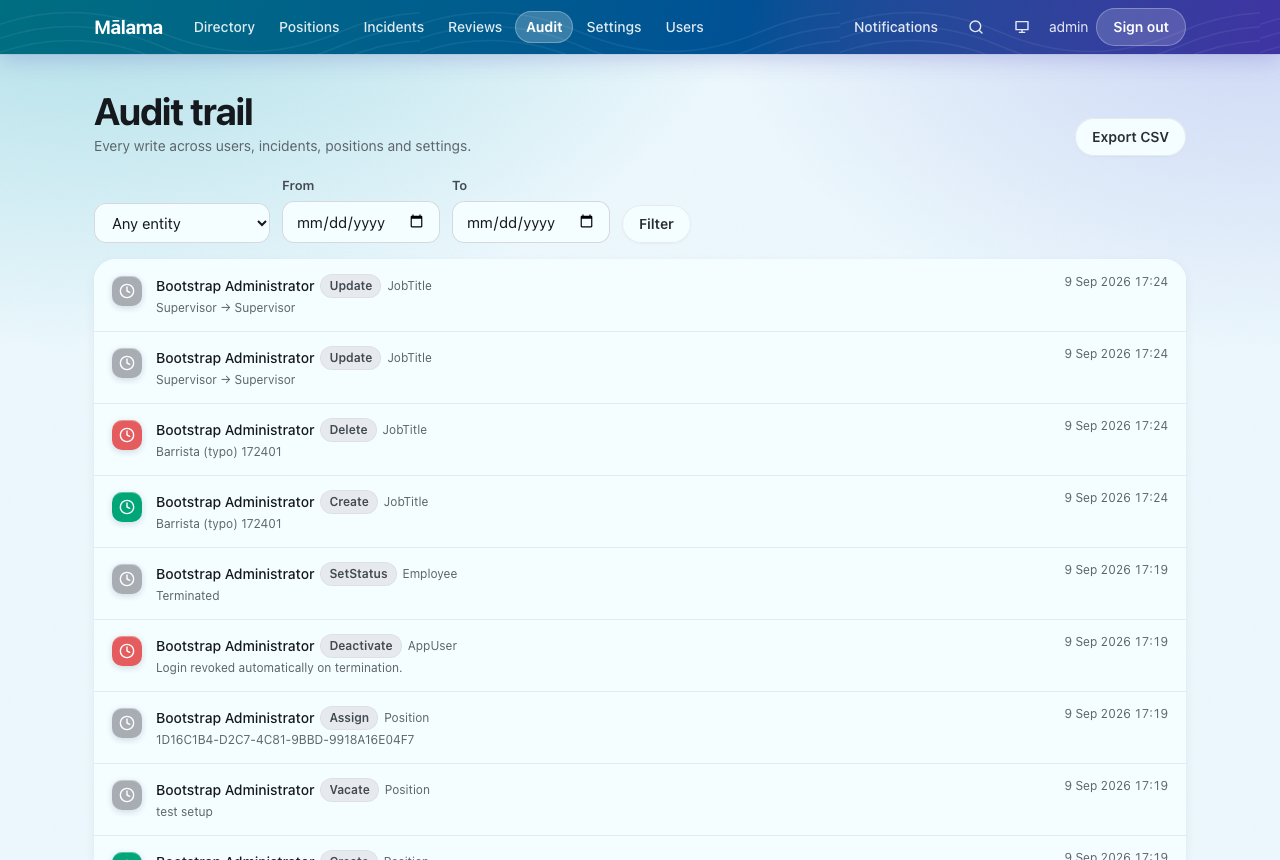
Retention values decide only what a future purge would consider eligible. Purging is separate and deliberate, and anything under legal hold is exempt regardless of age.